Welcome to the Formora Quickstart Guide! This tutorial will walk you through the essential steps to get your first form up and running. We’ll cover account creation, building a simple contact form, publishing it, and understanding how to share it and view responses. Let’s get started!Documentation Index
Fetch the complete documentation index at: https://docs.formora.site/llms.txt
Use this file to discover all available pages before exploring further.
Step 1: Sign Up for a Formora Account
If you haven’t already, you’ll need a Formora account. Our free plan is generous and perfect for getting started.Visit the Signup Page
Navigate to the Formora Signup Page in your web browser.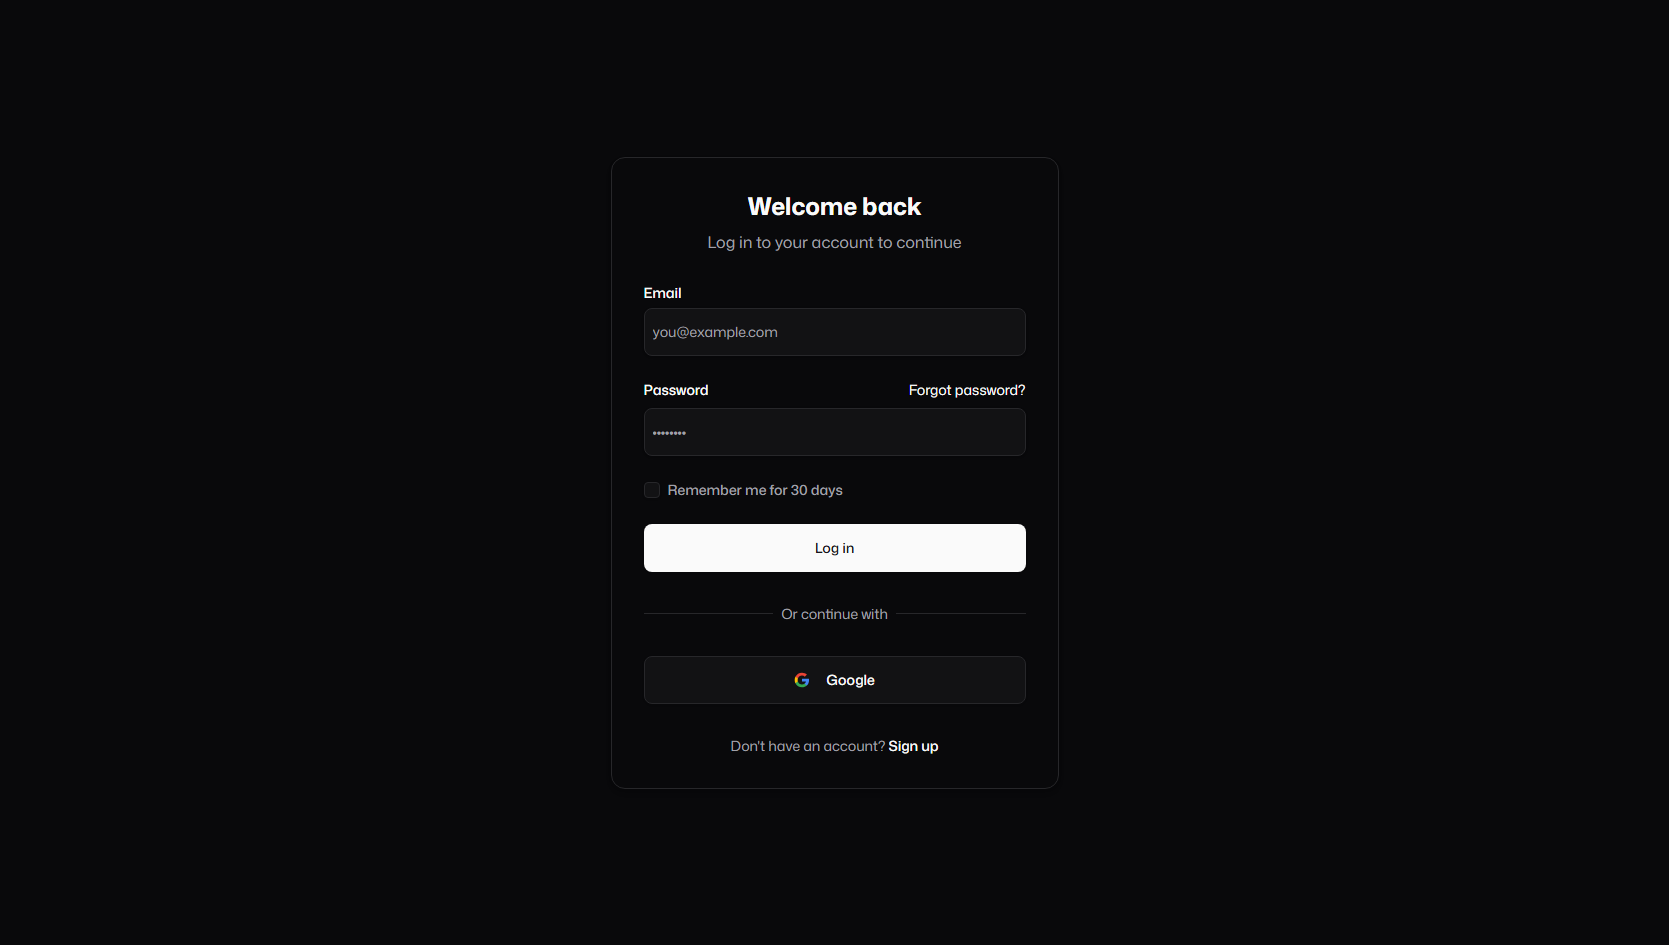
Enter Your Details
Fill in the required information: your name, email address, and a secure password. Agree to the terms of service and click “Sign Up”.
Verify Your Email (if required)
You might receive an email to verify your email address. If so, please click the verification link in the email to activate your account.
Already have an account? Simply log in to access your dashboard.
Step 2: Create Your First Form
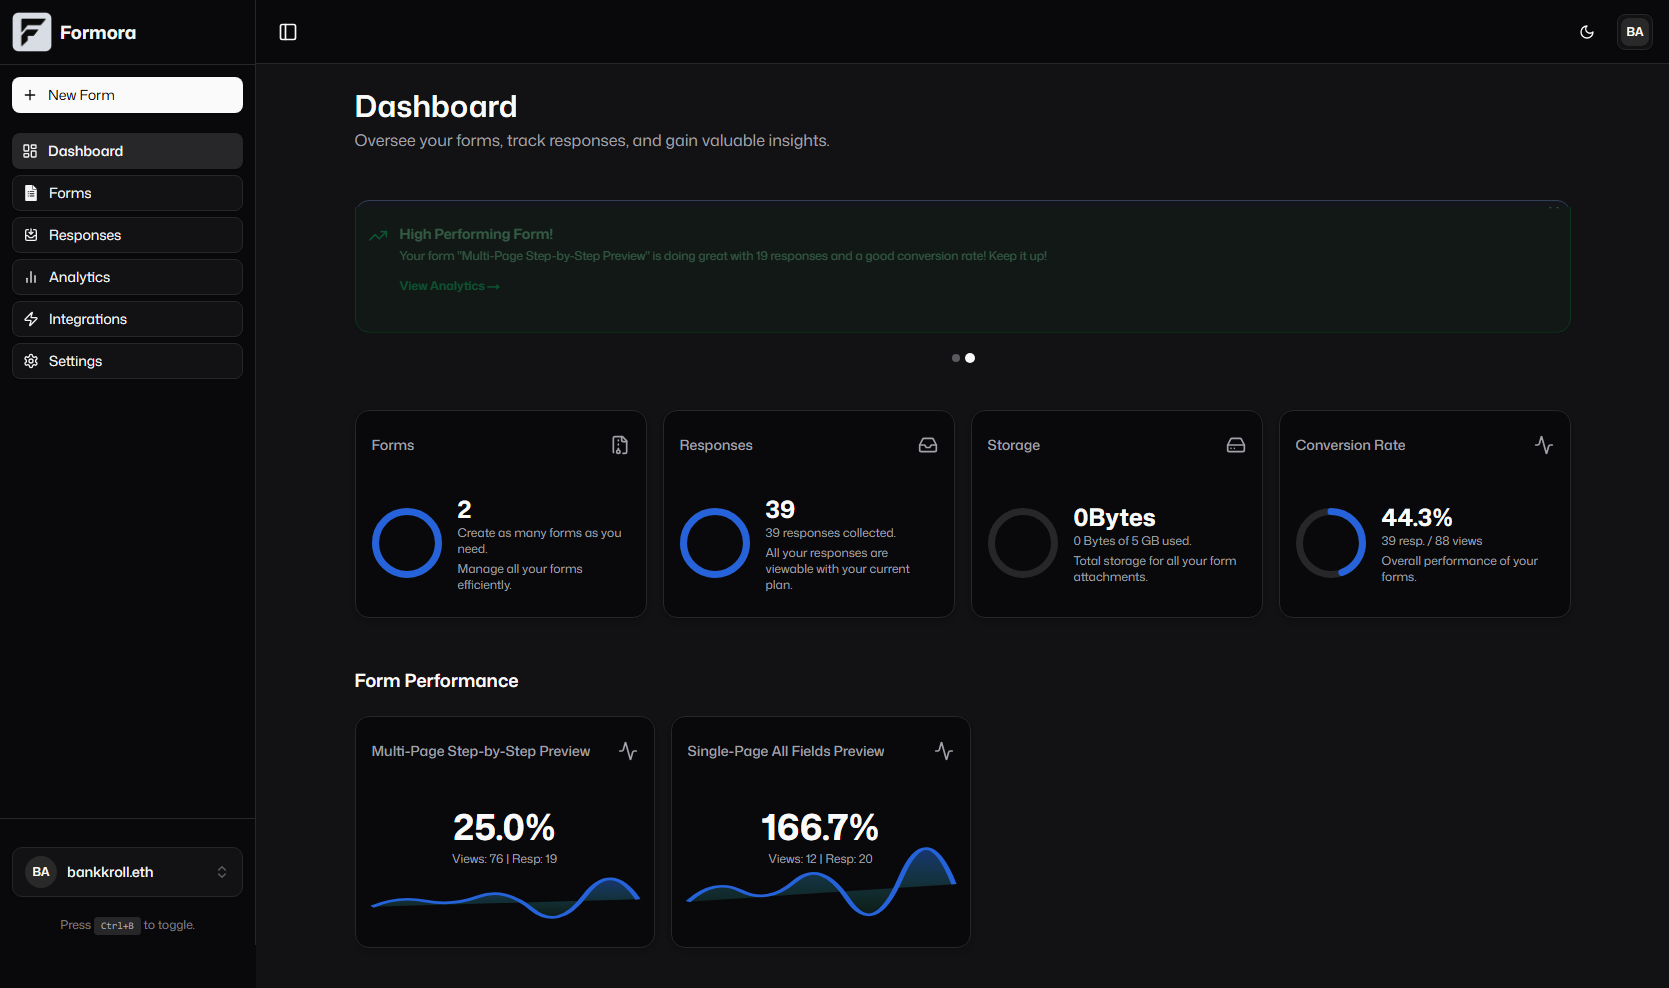
From your dashboard, let’s create a new form.Navigate to New Form
On your dashboard, click the ”+ New Form” or “Create Form” button. This will take you to the form creation interface, where you can choose to start from scratch or use a template.
For this quickstart, let’s select “Start from Scratch”.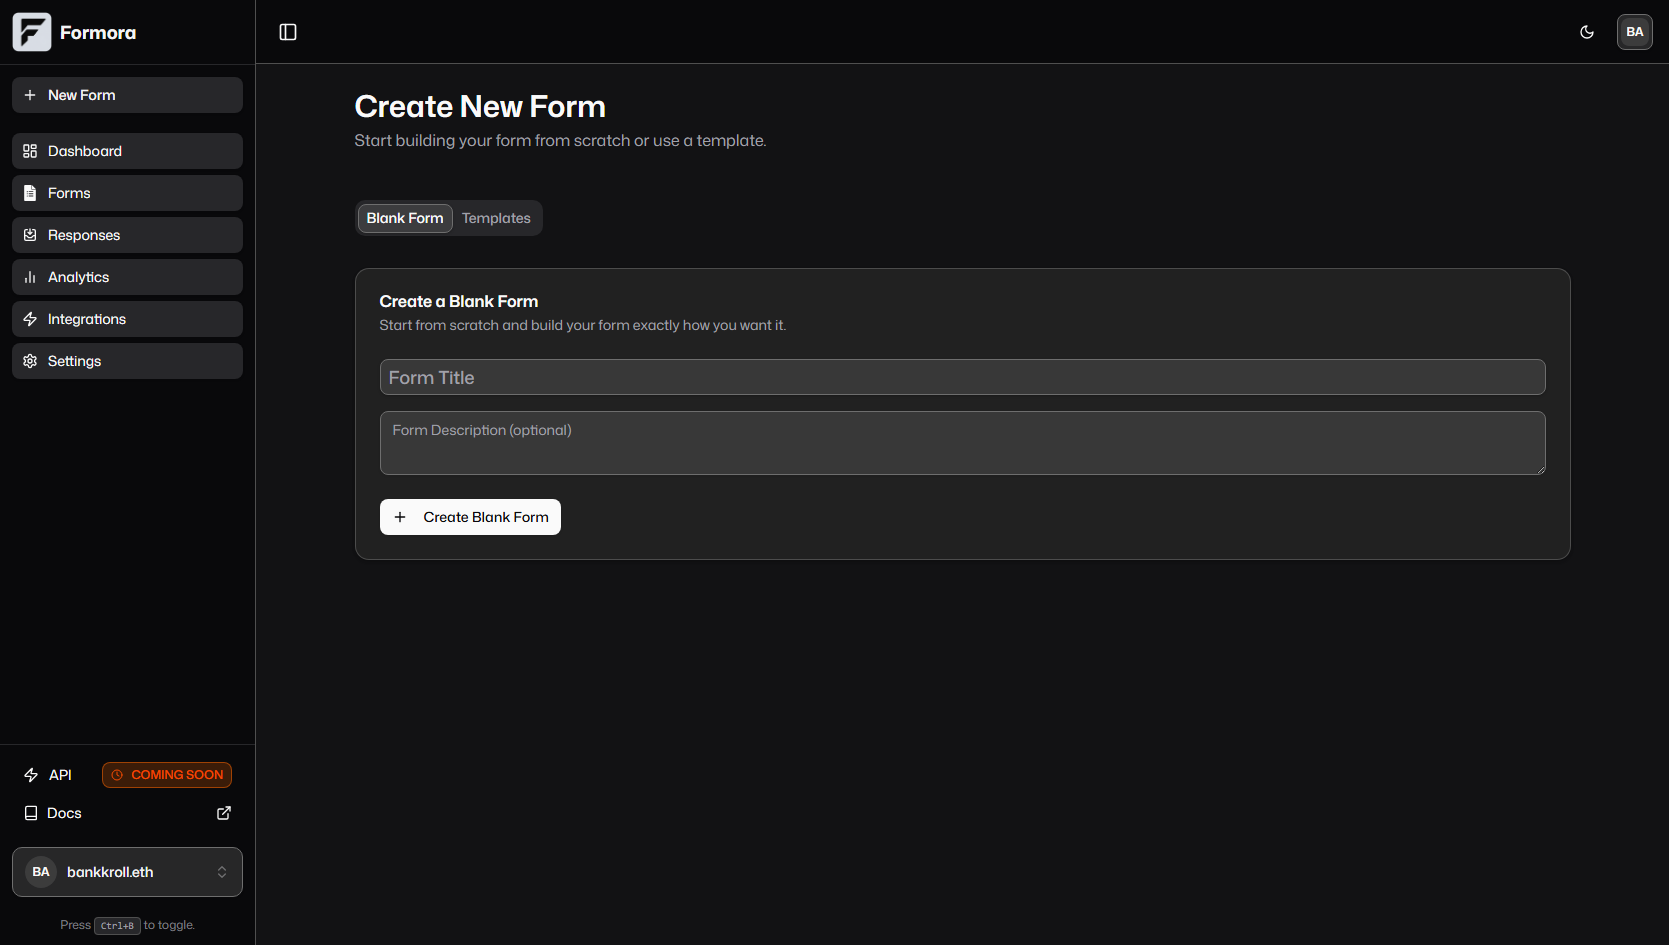
Meet the Form Builder
You’re now in the Formora Form Builder! You’ll see a central canvas where your form takes shape, a toolbox on the left with available field types, and a settings panel on the right for form and field configurations.

Step 3: Add Fields to Your Form
Let’s build a simple contact form with fields for Name, Email, and Message.Add a Text Input for Name
From the Field Toolbox on the left, find the “Text Input” field. Drag and drop it onto the form canvas.
Once added, select the field on the canvas. The right-hand panel will now show Field Properties.
- Change the Label to “Full Name”.
- Make it Required by toggling the switch or checking the box.
Add an Email Input
Drag an “Email Input” field from the toolbox onto the canvas below the Name field.
- Ensure the Label is “Email Address”.
- Make this field Required.

Step 4: Save and Publish Your Form
Save Your Progress
Click the “Save” button, usually located at the top right of the builder. This saves all your changes.

You can always unpublish a form if you need to take it offline temporarily. Saved changes are preserved even if the form is unpublished.
Step 5: Share Your Form
Once published, you can share your form in several ways:Using the Direct Link
Using the Direct Link
After publishing, you can usually find a “Share” button or a direct link displayed in the builder or form settings.
This link (e.g., 
https://formora.site/f/your-form-id) can be sent directly to users.Embedding on Your Website
Embedding on Your Website
Formora provides embed codes to seamlessly integrate your form into your website. You can typically find these under the “Share” or “Embed” section.JavaScript Embed (Recommended):Replace Replace
YOUR_FORM_ID with your actual form ID.iFrame Embed:YOUR_FORM_ID with your actual form ID. You might need to adjust height.For more details, see Embedding Options.Step 6: View Test Submissions
Let’s test your new form!Open Your Published Form
Use the direct share link you obtained in the previous step to open your form in a new browser tab.
Fill and Submit
Enter some test data into the fields (your name, email, and a message) and click the “Submit” button.
You should see a success message.
Check Responses in Formora
Go back to your Formora dashboard.
Navigate to the “Responses” section for your “Contact Us” form.
You should see your test submission listed! Learn more about Viewing Responses.
Congratulations!
You’ve successfully created, published, shared, and tested your first form with Formora! This is just the beginning. Formora offers many more features to explore:Explore Field Types
Discover all the different input fields, choice options, and layout elements available.
Layout & Theming
Customize the look and feel of your forms to match your brand.
Advanced Sharing
Learn about custom domains and more embedding techniques.
Analytics
Dive into how to track your form’s performance and gain insights from submissions.